How to Develop Python Code with Docker in Visual Studio Code
The problem: Python on different computer types is challenging
Python’s initial learning curve is very low, but there are many unfortunate complexities when you move from print(”Hello World”) to projects shared across teams across computers and across time.
Dealing with the ‘sharing across teams across time’ problem has more-or-less been solved with git, where you can see the history of a code file, who has worked on it, and what changes they have made and why. The ‘sharing across computers’ is a problem that is much more challenging to solve due to the reliance on environments.
Environments allow users to install different versions of Python and different versions of packages from Python’s incredible ecosystem. An example of when this is useful: I am working two projects, one requires pandas v1.4.2, the other requires pandas 1.0.0; a separate environment for each project allows me to work these simultaneously. Issues with package versions typically do not arise during a relatively short project, but code written months or years ago can have serious package version issues if updates have been made since it was last run.
Environments can be documented and shared in a few different ways; in conda you use this method. The method makes it relatively easy to recreate an environment, but it does not address the differences in computer architectures. I recently ran into a problem where an environment I created on my Windows 64bit computer failed to install on a Linux Python server. I had to manually comment-out the failed packages and install the Linux versions…annoying.
The outcome: Repeatable, 100% shareable Python code for analytics and data science projects
How to solve the architecture problem? Docker! Docker allows your computer (actually any computer) to create containers that make code 100% repeatable no matter where its run. In english: Docker makes every computer seem like the same computer, so code written inside a Docker computer can run anywhere Docker can run.
Docker has a pretty steep learning curve, but there is a quick way to get set-up to start developing your Python code in Docker!
How to run Python files inside a Docker container in VS code
0. Ensure all applications are installed
You’ll need:
- Docker Desktop
- Visual Studio Code
- (Optional) a git installation for sharing your code and environment specs; I use GitHub
1. Install the “Remote - Containers” extension in VSCode
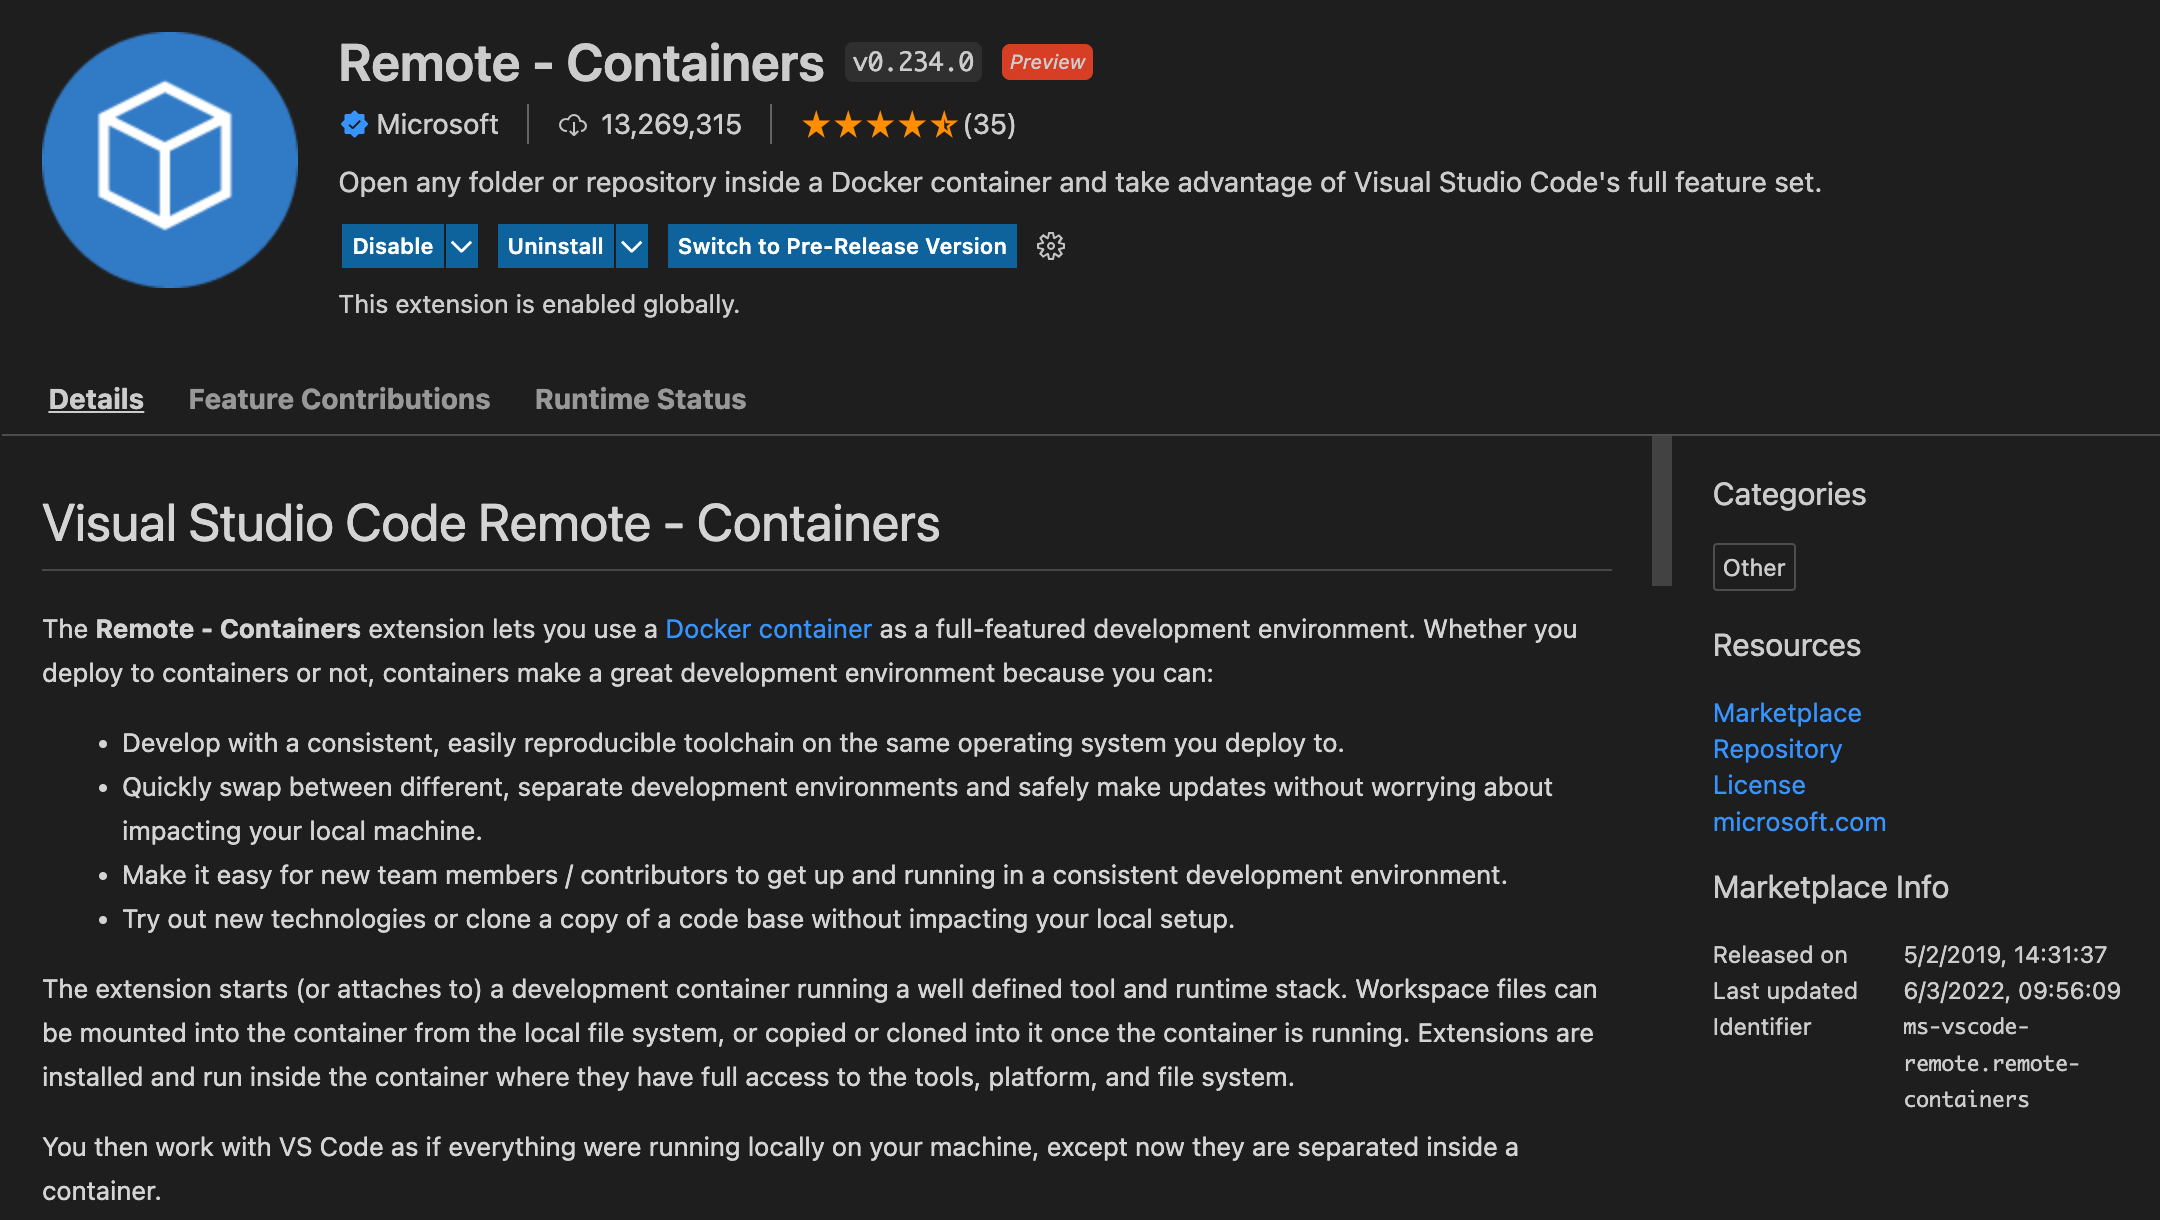
I’m going to plagiarize the extension, since it explains its value proposition better than I can:
“The Remote - Containers extension lets you use a Docker container as a full-featured development environment. Whether you deploy to containers or not, containers make a great development environment because you can:
- Develop with a consistent, easily reproducible toolchain on the same operating system you deploy to.
- Quickly swap between different, separate development environments and safely make updates without worrying about impacting your local machine.
- Make it easy for new team members / contributors to get up and running in a consistent development environment.
- Try out new technologies or clone a copy of a code base without impacting your local setup.”
2. Add container specification files to folder
In the folder you want to open in a container (aka your project folder) you can use VSCode to create the necessary Dockerfile (specifying the development environment) and a devcontainer.json files (specifying the VSCode interactivity with the development environment).
- Ensure VSCode has the proper folder open; it is going to add files to the top-level of the open folder
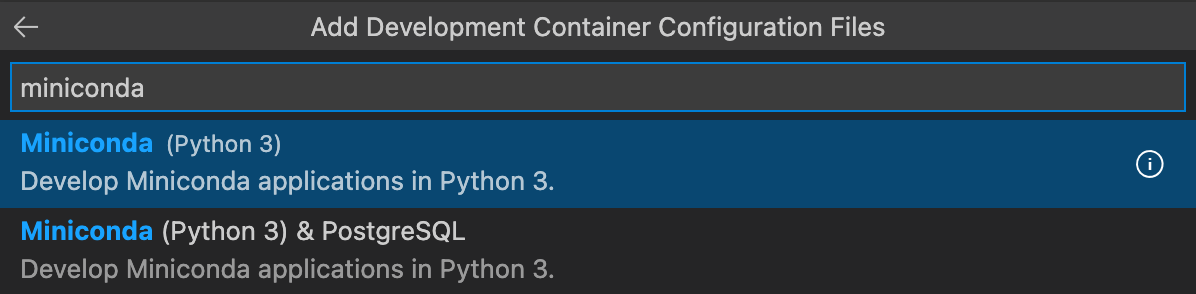
- In the command pallet (Cmd+Shift+P) click the “Remote-Containers: Add Development Container Configuration Files” option

- Select your preferred Python configuration - I used Miniconda (Python 3)
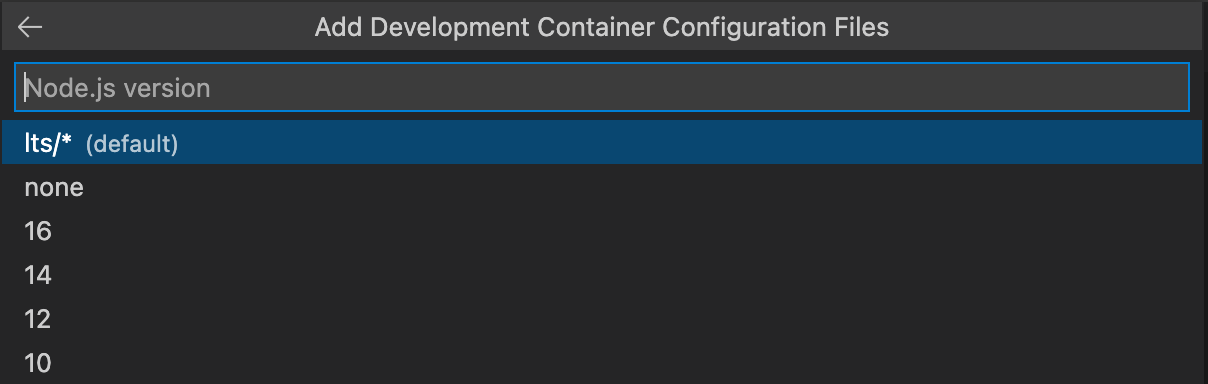
- Select your Node.js version (depending on your use case this may matter)
- Select any optional add-ins you may need (I did not select any)
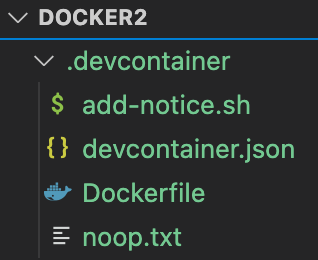
And voila, VSCode will generate the necessary file structure in the folder. You’ll see the Dockerfile and devcontainer.json have been added. I’d recommend reading through their contents since you can customize a lot more from the default values they provide you. Versions of these files from my experimentation are here.
3. Open the project folder in the container
Now that you’ve specified the development environment, you have to re-open the current folder within that environment. To do so, execute the ‘Open workspace in container’ command and browse to the current folder (that has the .devcontainer folder within it):

This will re-launch VSCode and start the container process. You’ll see a notification in the bottom right that this is happening - if you click ‘show log’ you’ll get much more information that should look like this:

You can follow along, but I want to highlight the blue text - this is actually the step that executes the Dockerfile. You can open the Dockerfile and see the one-to-one match of the steps to the commands in blue.
And there you have it - you are ready to write your code in a clean Docker Python environment! You can start writing .py files or .ipynb files, installing packages via conda or pip in the terminal, and running your code.
How to share your Docker environment
It’s one thing to develop your code inside of a container, but one of the main reasons you want to do this is so others can execute your code without any worry about packages, computer type, chip architecture, etc. This method defines the container using code in the Dockerfile, so it’s fairly straightforward for others to replicate it - all they need is the Dockerfile and the specifications of the Python environment.
Save your Python virtual environment to an environment.yml file
With your environment activated, in the terminal type
conda env export --file environment.yml
This will create a file environment.yml that includes the entire package specifications for the currently activated environment. An example of this file is here.
Ensuring your environment gets installed within Dockerfile
The last thing you need to do is ensure the code in your Dockerfile that installs the Python virtual environment is uncommented. The lines you need to uncomment are:
COPY environment.yml* .devcontainer/noop.txt /tmp/conda-tmp/
RUN if [ -f "/tmp/conda-tmp/environment.yml" ]; then umask 0002 && /opt/conda/bin/conda env update -n base -f /tmp/conda-tmp/environment.yml; fi \
    && rm -rf /tmp/conda-tmp
This little snippet copies your recently-created environment.yml file to the container, then executes a conda command to install the required files into the container’s base environment. The container’s base environment ends up having the same packages as the environment from which the conda env export –file environment.yml command was run.
And, now your Python code is 100% Dockerized, and whomever has access to your Python code and the contents of your .devcontainer folder will be able to open the folder within a Docker container (step 3) and run it simply!